What’s up guys?
Today I’m going to talk about my planning process for a hoverboard that I will be trying to make. I haven’t had much time to plan, so this will just be a rough draft, but it will still be cool. I am working on this project with my friend Luke. This is the rough draft:
Now I’ll explain it.
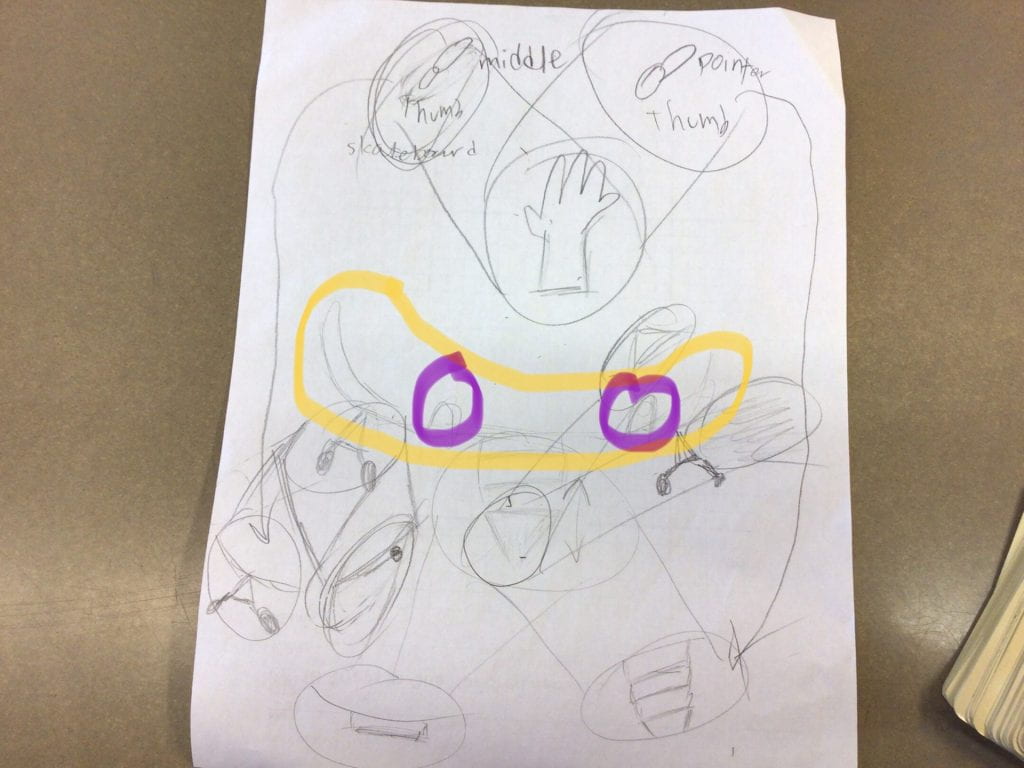
Okay so the part highlighted in yellow below is the board where your feet will be. The part highlighted in purple {my favorite color} are the feet straps so that you won’t fall off when you fly:
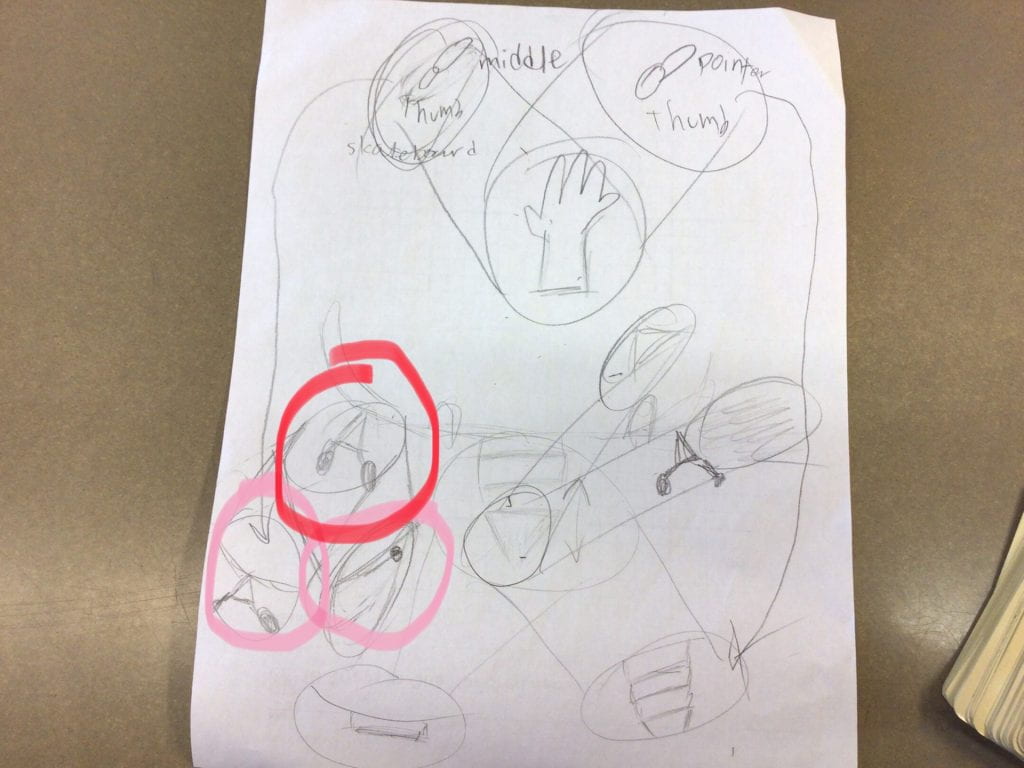
The part highlighted in red is the wheels. The part in pink is the different stages that the wheels will go through. The one with the pink 1 next to it is when it’s in skateboard form so that you can roll. The one with the pink 2 next to it is when it’s in hoverboard form. Honestly it could be down but I don’t think that landing will be as smooth, like an airplane:
Next, the green highlighted place. This is the booster so that it can fly. The thingys in lime green are the different stages that the booster will go through. The one with the 1 next to it is the skateboard form. It is shorter so that it won’t scrape against the ground when you skateboard. The one with the 2 next to it is when it’s in hoverboard form. This allows it to have it so that the thing that boosts it up can work {I haven’t decided whether to use wind {it would have to be strong wind} or fire 🔥}: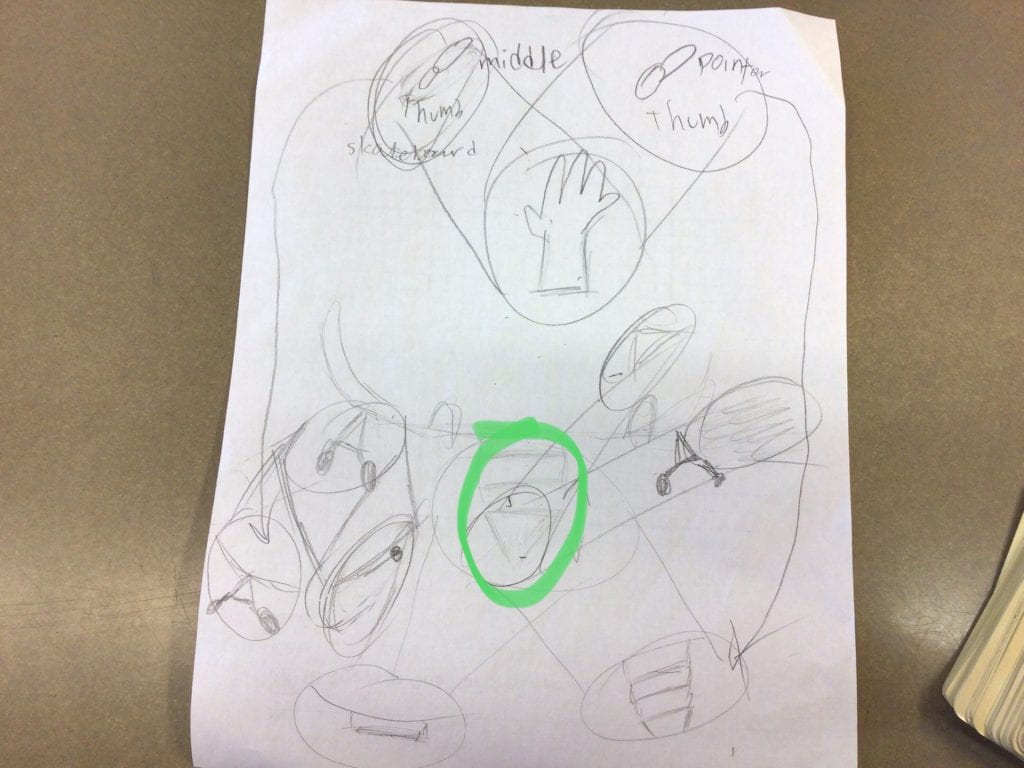
Now, the thing highlighted in dark green {I would have put it in the last paragraph but it was getting a bit long and I wanted the words to be able to “breathe”}. This is the type of thing that will make it go up 🆙⬆️. The one with the 1 next to it is the first kind. It’s also what I did in the full picture. This is fire 🔥. It is very dangerous so I might make it with the second kind of power. The one with the 2 next to it is supposed to be wind. It isn’t as dangerous, but the con is it’s hard to get strong enough winds to lift the weight of you and the board:

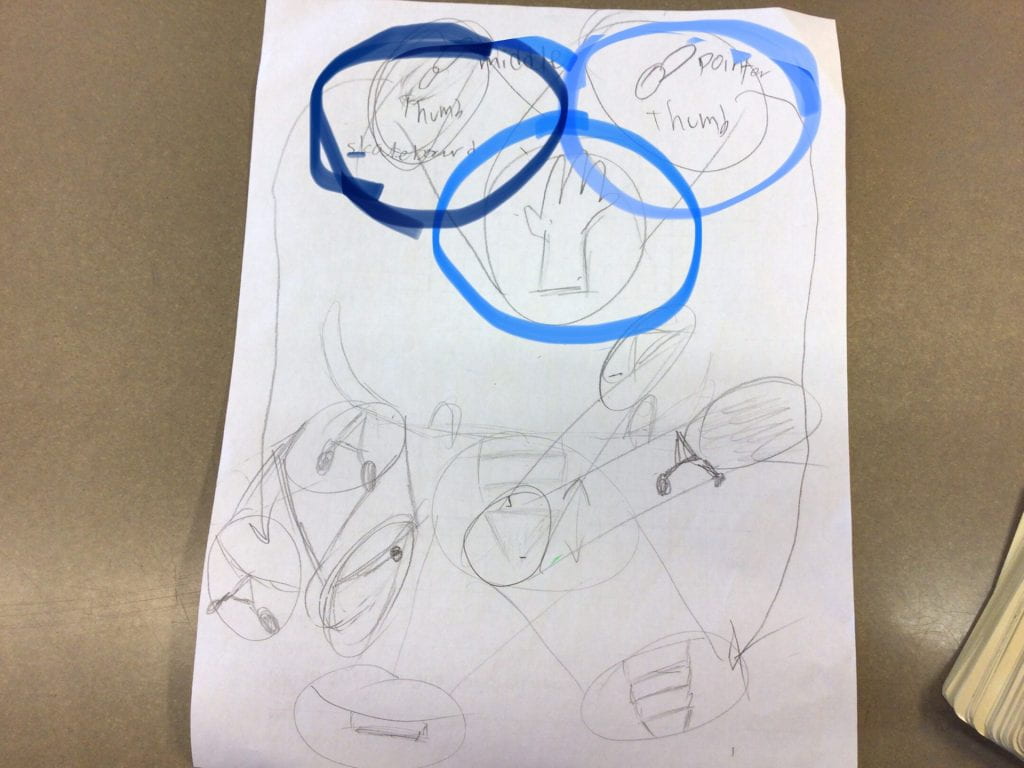
Second-to-last, the controller, in blue. This will be in the form of a glove so that you don’t have to worry about holding something and then falling down. The part in dark blue is for skateboard mode. You just hold your middle finger to your thumb and the wheels will extend. The part in light blue is for hoverboard mode. If you press your pointer finger to your thumb the wheels will retract. The next two aren’t on the draft, but I’m going to explain them anyway because they’re important and I’m too lazy to add them. One is to land. Press your ring finger to your thumb to do this. This will lower you to the ground, extend the wheels, lower you a bit more so that the wheels are touching the ground, then turn off the booster and retract it. To take off, press your pinky to your thumb. This will turn on your booster, lift you off the ground, retract the wheels and now you are hovering:
Lastly, the speed and height. To speed up, lean forward. To slow down, lean backward. To go higher, press your middle finger and your pointer finger to your thumb. To go lower, press your middle finger and ring finger to your thumb. There is no picture for this so this is the end.
Well, I hope you enjoyed it! Later!
Be First to Comment